
General Settings
Open Game Settings > General to choose how your project starts. This category also holds world scale, Game States, language and saving defaults.
Save the project to preserve editing changes; player save slots hold game progress separately. Start a fresh playtest after changing startup settings.
Prerequisites
- An open project with playtest stopped.
- Two Scenes with visibly different contents, named
MainandSecond. - A saved project checkpoint.
Select Game Settings in the Resource Tree, then choose General. Keep a checkpoint before changing world scale or collecting story text.
Choose the Startup Scene
- Expand Startup if it is collapsed.
- Set Start Scene to
Second. - Check that Will launch > Start scene names
Secondbefore starting the comparison. - Press Play and identify which Scene opens.
- Stop playtest, choose First scene, and restart to compare which Scene opens.
An explicit selection launches that Scene, while First scene uses the project’s Scene order. A blank setting chooses this fallback too.
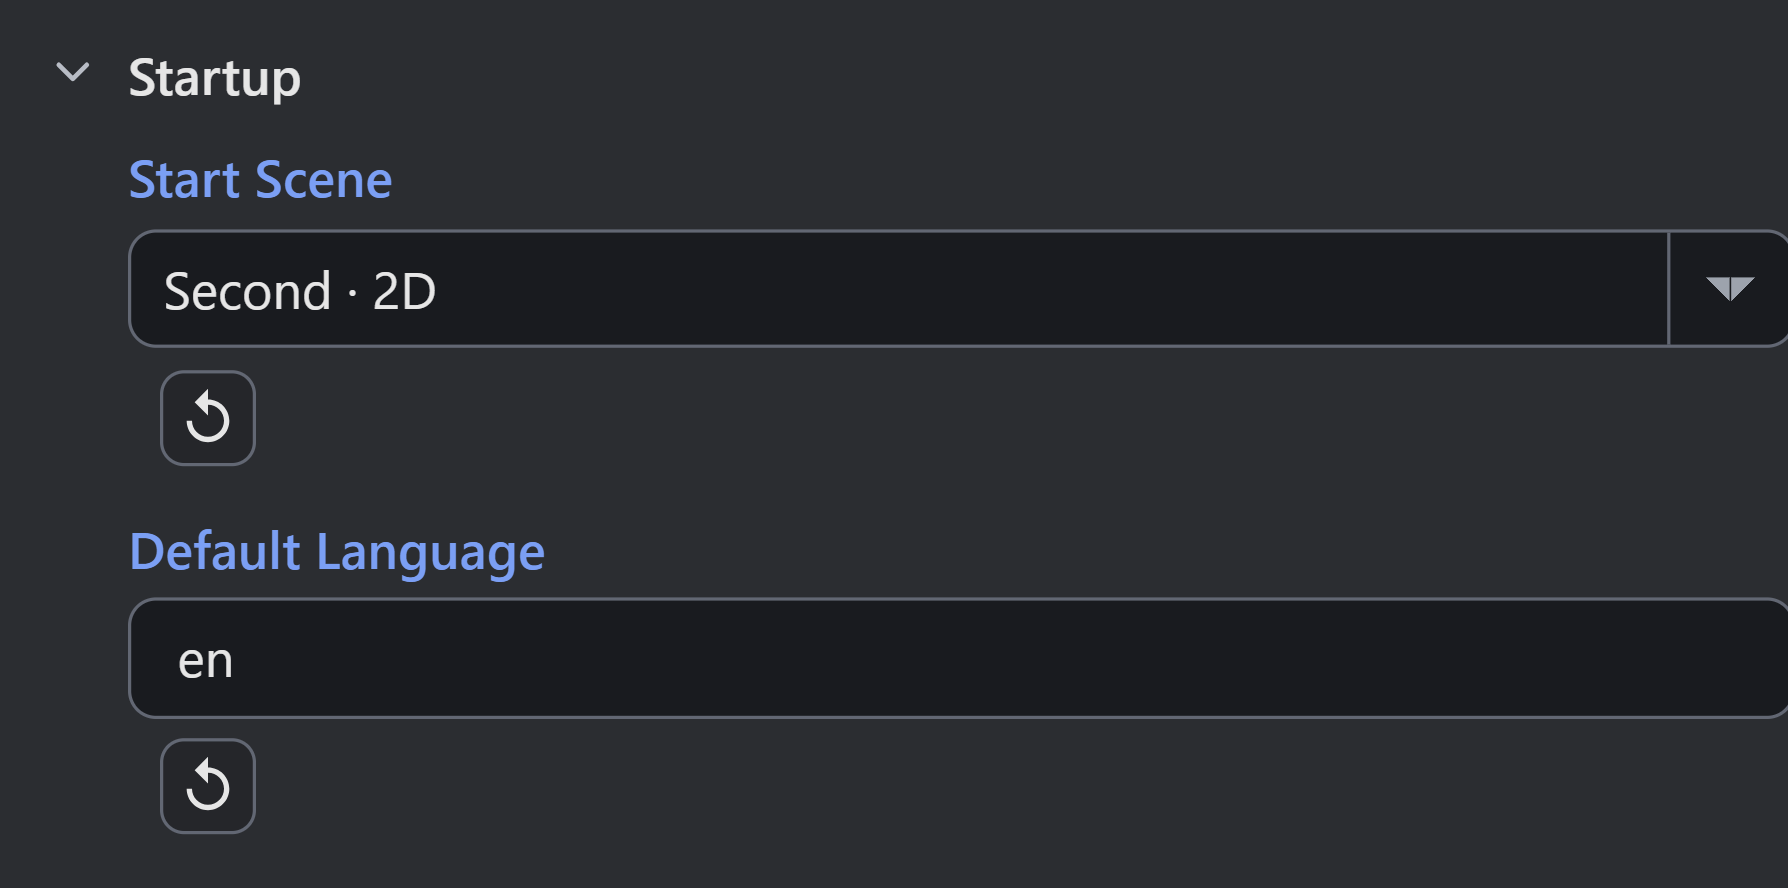
- Start Scene: Second explicitly selects the launch Scene.
- Default Language: en names a Strings-table language column.
Renaming or deleting a Scene can leave a missing startup reference. The editor flags it and names the first Scene used by Run/Export. Choose a valid Scene before testing again. A project with no Scenes has no launch target.
Set the Initial Game State
A Game State is one project-wide named value, such as Playing, Paused or Game Over. Exactly one state is current; the default is Playing.
- Expand Game State and select Add Game State to create an entry in the project list.
- Enter
Pausedin Game State Name, then submit Add Game State. - Choose
Pausedunder Initial Game State. - Check that its row displays Initial.
- Save and reopen the project to confirm that both states and the initial selection remain.
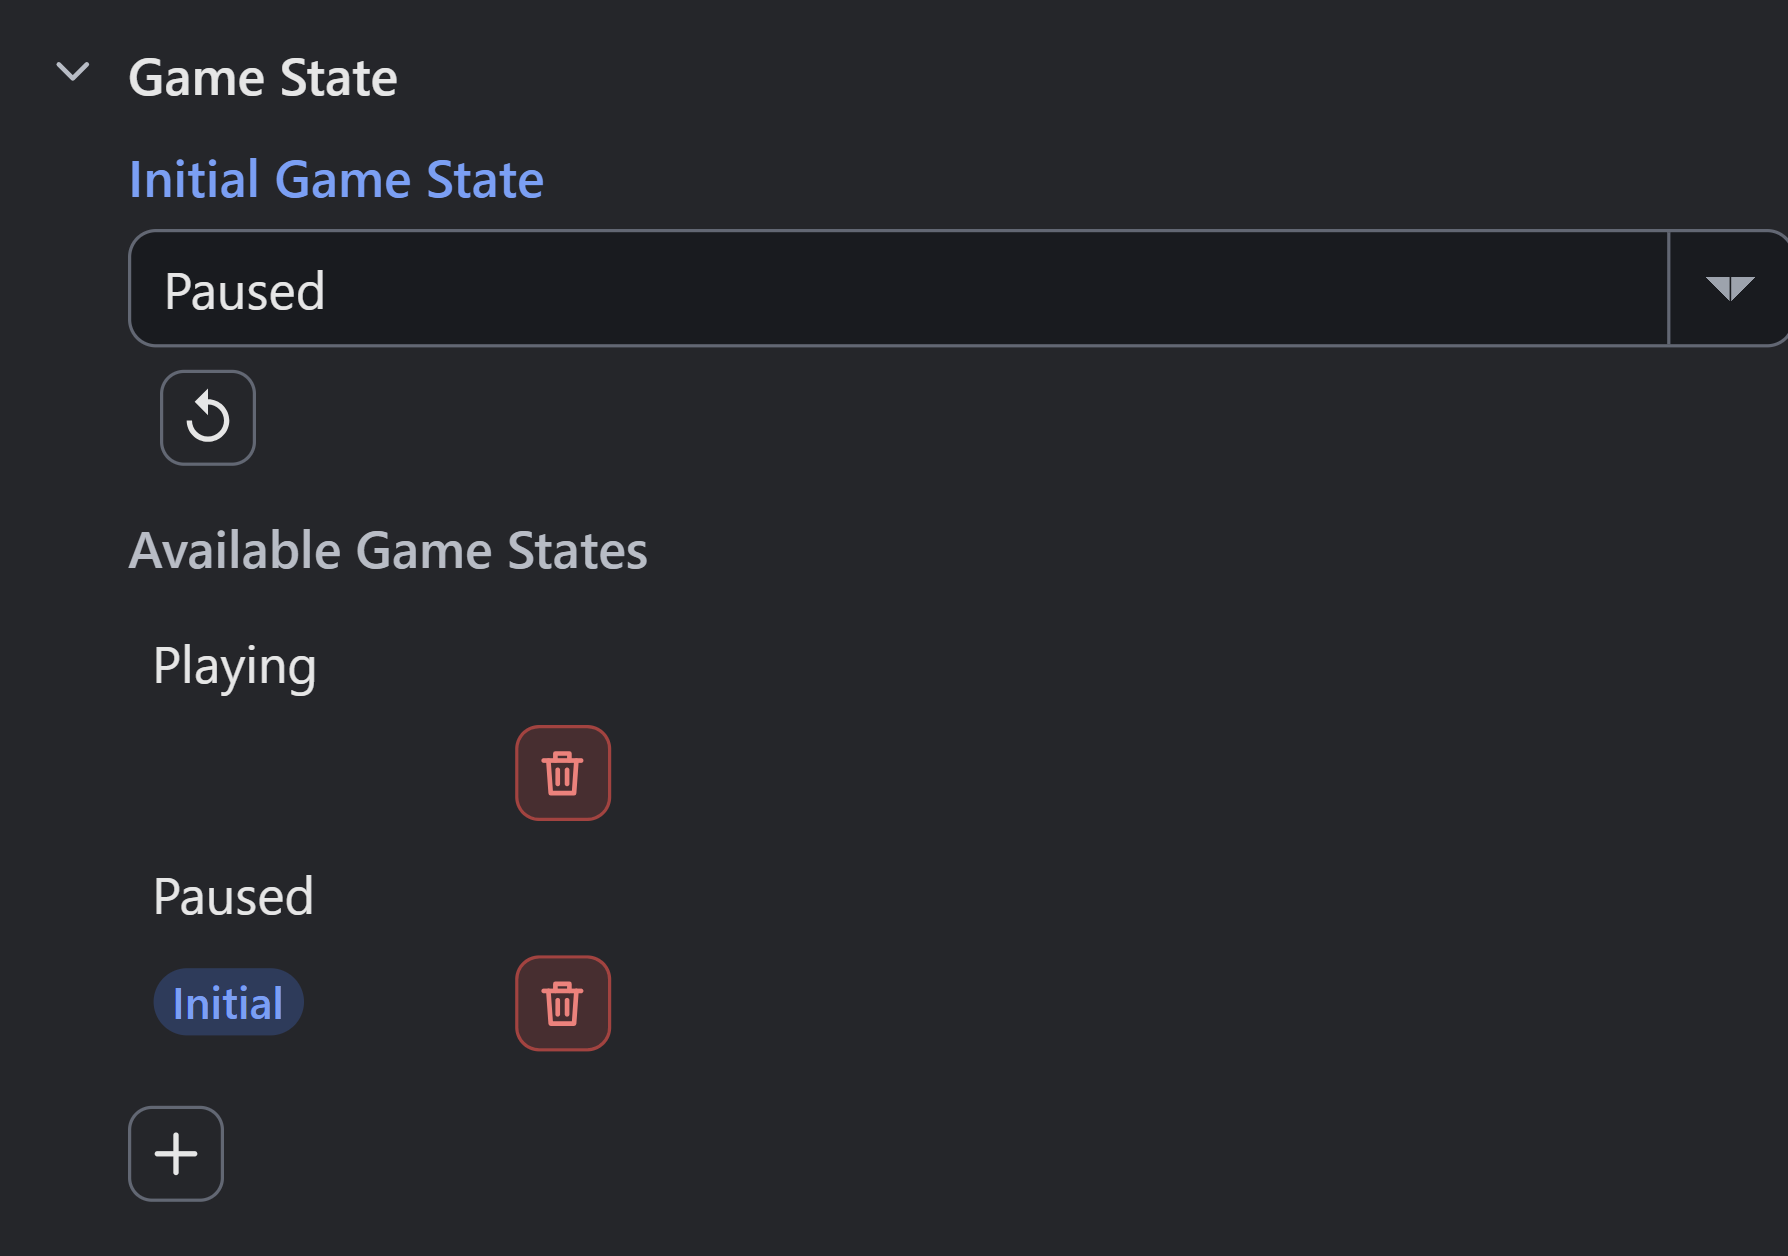
- Initial Game State: Paused is the game's initial state.
A fresh game now initializes its state to Paused. That name alone does not stop movement or disable input. Attach those effects in Logic with Set Game State and Game State Changed.
Input contexts are separate and can be active together. Game State names must be nonempty and unique without regard to case. Keep at least one state. Before renaming or deleting one, inspect its Action and Event consumers. Retest their transitions afterward.
Choose World Scale
Find World Scale > Pixels per Meter. Its default is 32, and the accepted range is 0.01 through 100000.
Density relates pixels to meters. At density 32, a 64-pixel image has a natural width of two meters. Object scale, component dimensions, resource density and camera framing affect its displayed size.
Before changing an existing project, read World Units and Image Scale; density does not set window resolution or movement speed.
For a comparison, keep density 32 and use a Sprite with an authored width of two meters. Look at it in Scene Game View, then start a fresh playtest. Check Collider bounds and motion after changing density. Use the saved checkpoint to compare the result before adjusting Object scale or other world dimensions.
Configure Language and Story Defaults
Startup > Default Language is blank by default. Enter a language-column identifier, such as en, from your project’s Strings Data Table. The field trims surrounding spaces. Change it during play with Set Language.
Under Languages, choose Collect Story Text to create or update Strings. Each row uses the text’s derived key. Open Strings Table becomes available once the table exists.
Add one text column for each language and translate its cells. Use its identifier in Default Language. Collection preserves existing nonempty cells; review the rows after collecting new text.
Test one known key in two language columns. Run with each default, then exercise the in-game language switch if your game has one. Selecting a language does not translate plain text that lacks a localization lookup.
Under Story Presentation, Dialogue Auto Skip Log Buttons start enabled, and Skip Fast Forwards defaults to Lines the Player Has Already Read. Choose Every Line to allow skipping unread lines too.
Test the dialogue controls with a player’s saved read history, which is kept on their device. Use a fresh player profile to check first-time reading behavior.
Enable Scene-Change Saving
Saving > Autosave on Scene Change defaults to Off. Turn it On to write the dedicated auto player slot after a Go to Scene arrival. It does not load that slot or create a Continue menu.
For a Continue menu and slot checks, follow Saving and Loading Progress. Set its slot to auto.
After a real Scene transition, confirm that auto exists, then load it in a fresh run using that guide.
Find and Restore Settings
Search Settings matches labels and related terms. Enter @modified to show settings that differ from defaults, then select Clear to restore the full view.
Expand collapsed sections when looking for a field. A field can be absent when its setting is not relevant to the current mode.
Changed fields offer a restore button where supported. The category’s restore button shows the number of changed settings, such as Restore 4 Defaults. It resets registered settings, including related settings outside the visible rows. Inspect the category first. Use Undo to recover, then check the values before saving.
Troubleshooting
| Symptom | Check |
|---|---|
| The wrong Scene starts | Check Start Scene, missing-reference warnings and the First scene fallback. Restart playtest. |
| Paused is selected but Objects still move | Attach pause behavior in Logic. The state name alone does not pause simulation. |
| A setting disappears | Clear Search Settings and expand its section. Check whether the current mode uses that field. |
| A density change affects art or collision | Compare Sprite scale, world dimensions, Collider bounds and camera framing with the saved checkpoint. |
| Text stays in its original language | Check the Strings key, language-column identifier, cell value and text consumer. |
The auto slot is absent |
Turn Autosave on Scene Change On, then arrive through Go to Scene. A fresh run does not load the slot automatically. |
Myth Engine Documentation